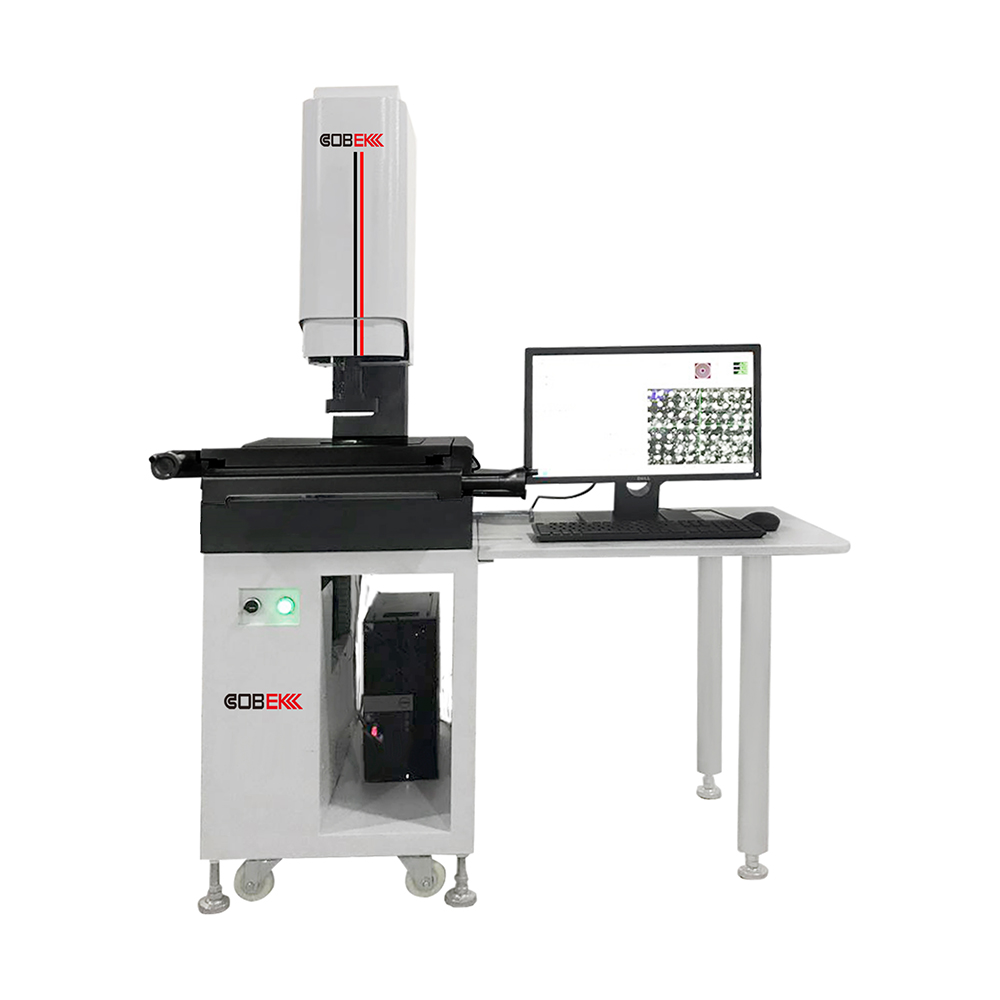
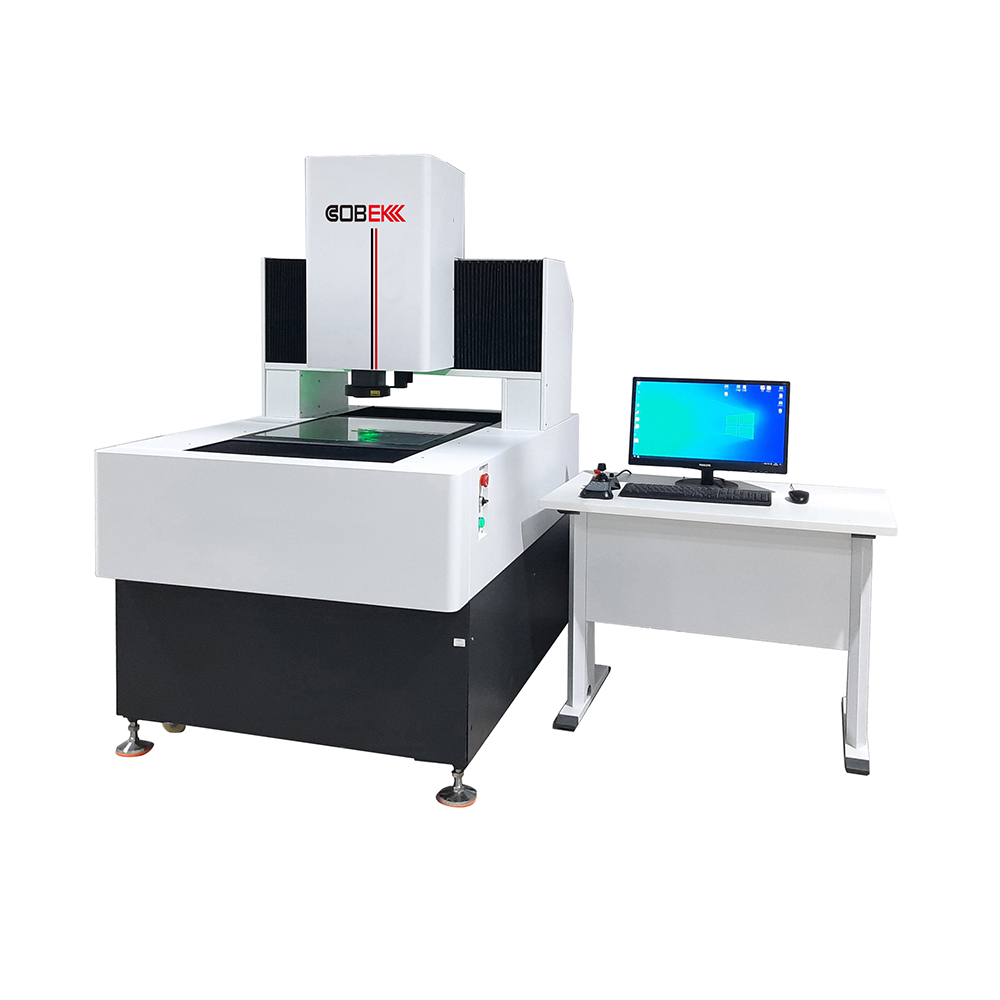
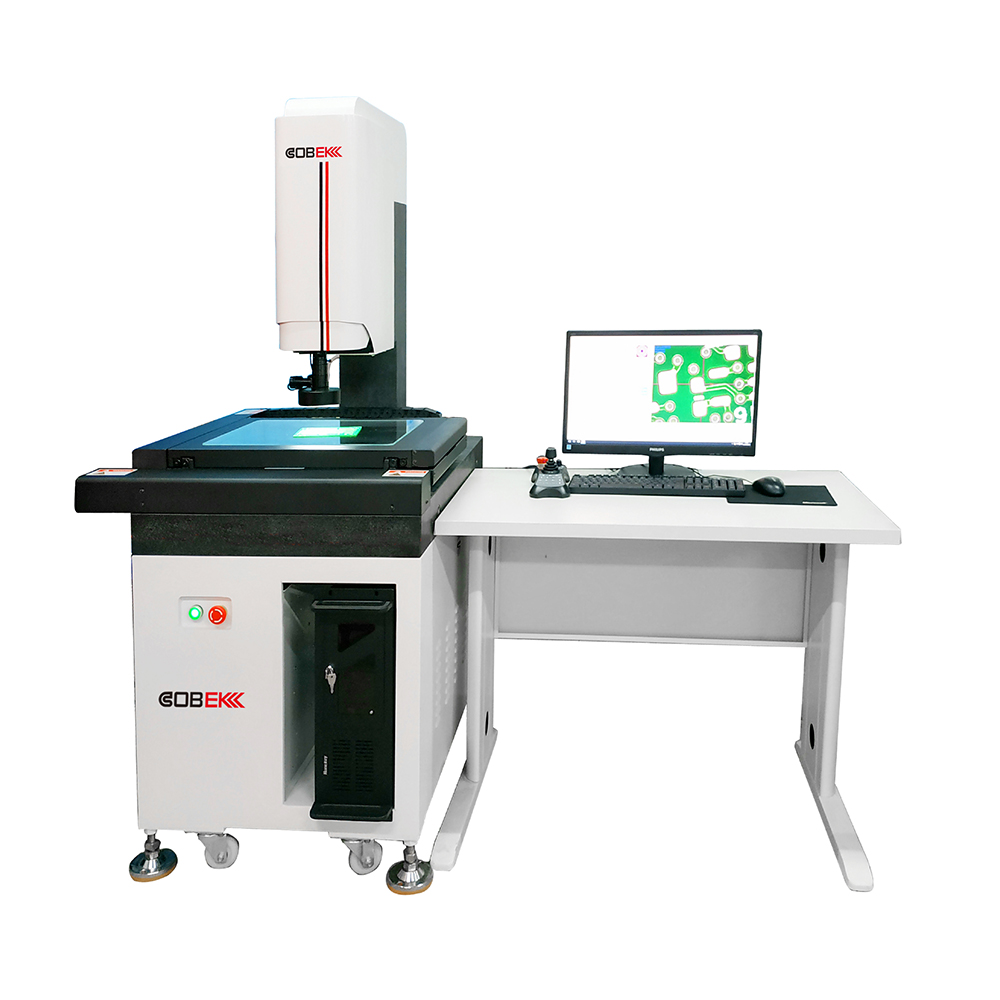
Automatic image measuring instrument is a modern optical non-contact measuring instrument with artificial intelligence developed on the basis of digital image measuring instrument (also known as CNC image instrument). It continues the excellent motion accuracy and motion control performance of digital instruments, integrates the design spirit of machine software, and belongs to today's cutting-edge optical dimensional testing equipment. 1, the instrument should be placed in a clean and dry room (room temperature 20 ° C ±5 ° C, humidity below 60%), to avoid optical parts surface dirt, metal parts rust, dust and debris fall into the moving guide rail, affecting the performance of the instrument. 2, after the use of the instrument, the working surface should be wiped clean at any time, and it is best to cover the dust jacket. 3. The transmission mechanism and movement guide rail of the instrument should be regularly lubricated to make the mechanism move smoothly and maintain good use condition. 4, the table glass and paint surface is dirty, you can wipe clean with neutral detergent and water. Never use organic solvents to wipe the paint surface, otherwise, it will make the paint surface tarnish. 5, the instrument LED light source has a long service life, but when there are bulbs burned out, please notify the manufacturer, by professionals for you to replace. 6, precision parts of the instrument, such as image system, workbench, optical ruler and Z-axis transmission mechanism need to be calibrated precision, all adjusting screws and fastening screws have been fixed, customers do not disassemble, if there is a problem, please notify the manufacturer to solve. 7, the software has made accurate compensation for the error of the workbench and the optical ruler, do not change it yourself. Otherwise, wrong measurement results will be generated. 8, all electrical connectors of the instrument, generally do not unplug, if it has been unplugged, it must be correctly inserted and screwed according to the mark. Incorrect connection, at best, will affect the function of the instrument, at worst, it may damage the system.
查看分類


